
March 24, 2022
Oven Repair
Self-cleaning ovens are becoming more and more popular. They take the hard work out of cleaning your oven, but the name is slightly deceiving. There is still some elbow grease needed! There are two main types of self-cleaning ovens.
The first type is catalytic ovens, which use catalytic liners containing fat-absorbing minerals and chemicals. Some ovens have the lining on both walls, the back, and the roof while others only cover one area. Areas without a liner will still have to be cleaned by hand. Also, the liners will need to be replaced eventually.
The second type of self-cleaning oven is a pyrolytic wall oven. The prices for these ovens vary by thousands depending on the make and model. All of these models come preprogrammed with a cycle that you run to clean your oven.
This is a step-by-step guide on how to clean your self-cleaning oven.
Check the instructions for your self-cleaning oven
With self-cleaning technology becoming more and more affordable, the number of self-cleaning ovens available is increasing. Before you run the self-cleaning cycle for the first time, however, you should ensure you read and understand how your model’s self-cleaning cycle runs. Pay special attention to any safety notes listed.
Ventilate your space
Your oven cleans itself by burning all splattered food and fat into ash that you can then vacuum up. As a result, you will need to ensure your kitchen is well ventilated during the self-cleaning process. Open any windows, run your overhead fan on its highest setting, and avoid the kitchen if possible.
Depending on how dirty the inside of your oven is, there is a chance of smoke. Keeping your kitchen well ventilated will help minimize the chance of the smoke lingering in your home or setting off smoke alarms.
While your oven is designed with safety features that are active during the self-cleaning cycle, it is a good idea to stick around during the process. If you have any pets or young children, keep them out of the kitchen.
Take everything out
The next step is to take everything that is in your oven out. This includes the drawer underneath. Don’t forget to take out the racks themselves. It is not the end of the world if you forget, but the shiny metal will become dull due to the high heat if left inside during the self-cleaning cycle.
An easy way to clean your rack is by leaving them soaking in the sink in soapy water while the oven is on its self-cleaning cycle. This should loosen the dirt and make it easy for you to get the grime off afterward.
Remove any baked-on food
While your oven should be able to clean this off for you, it is good practice to always scrape off any heavy food residue before starting the cleaning cycle. It is often easiest to use a non-scratch tool and remove the worst of it by hand. This means there is less mess to clean up after the cycle ends.
Start the self-clean cycle
Once you have completed the steps above, your oven is ready to begin the self-clean cycle.
The steps for starting your self-cleaning cycle will vary slightly depending on your oven’s make and model. These steps should include closing your oven door. If it doesn’t automatically lock as part of the cleaning process, lock it manually. Then select the self-clean cycle.
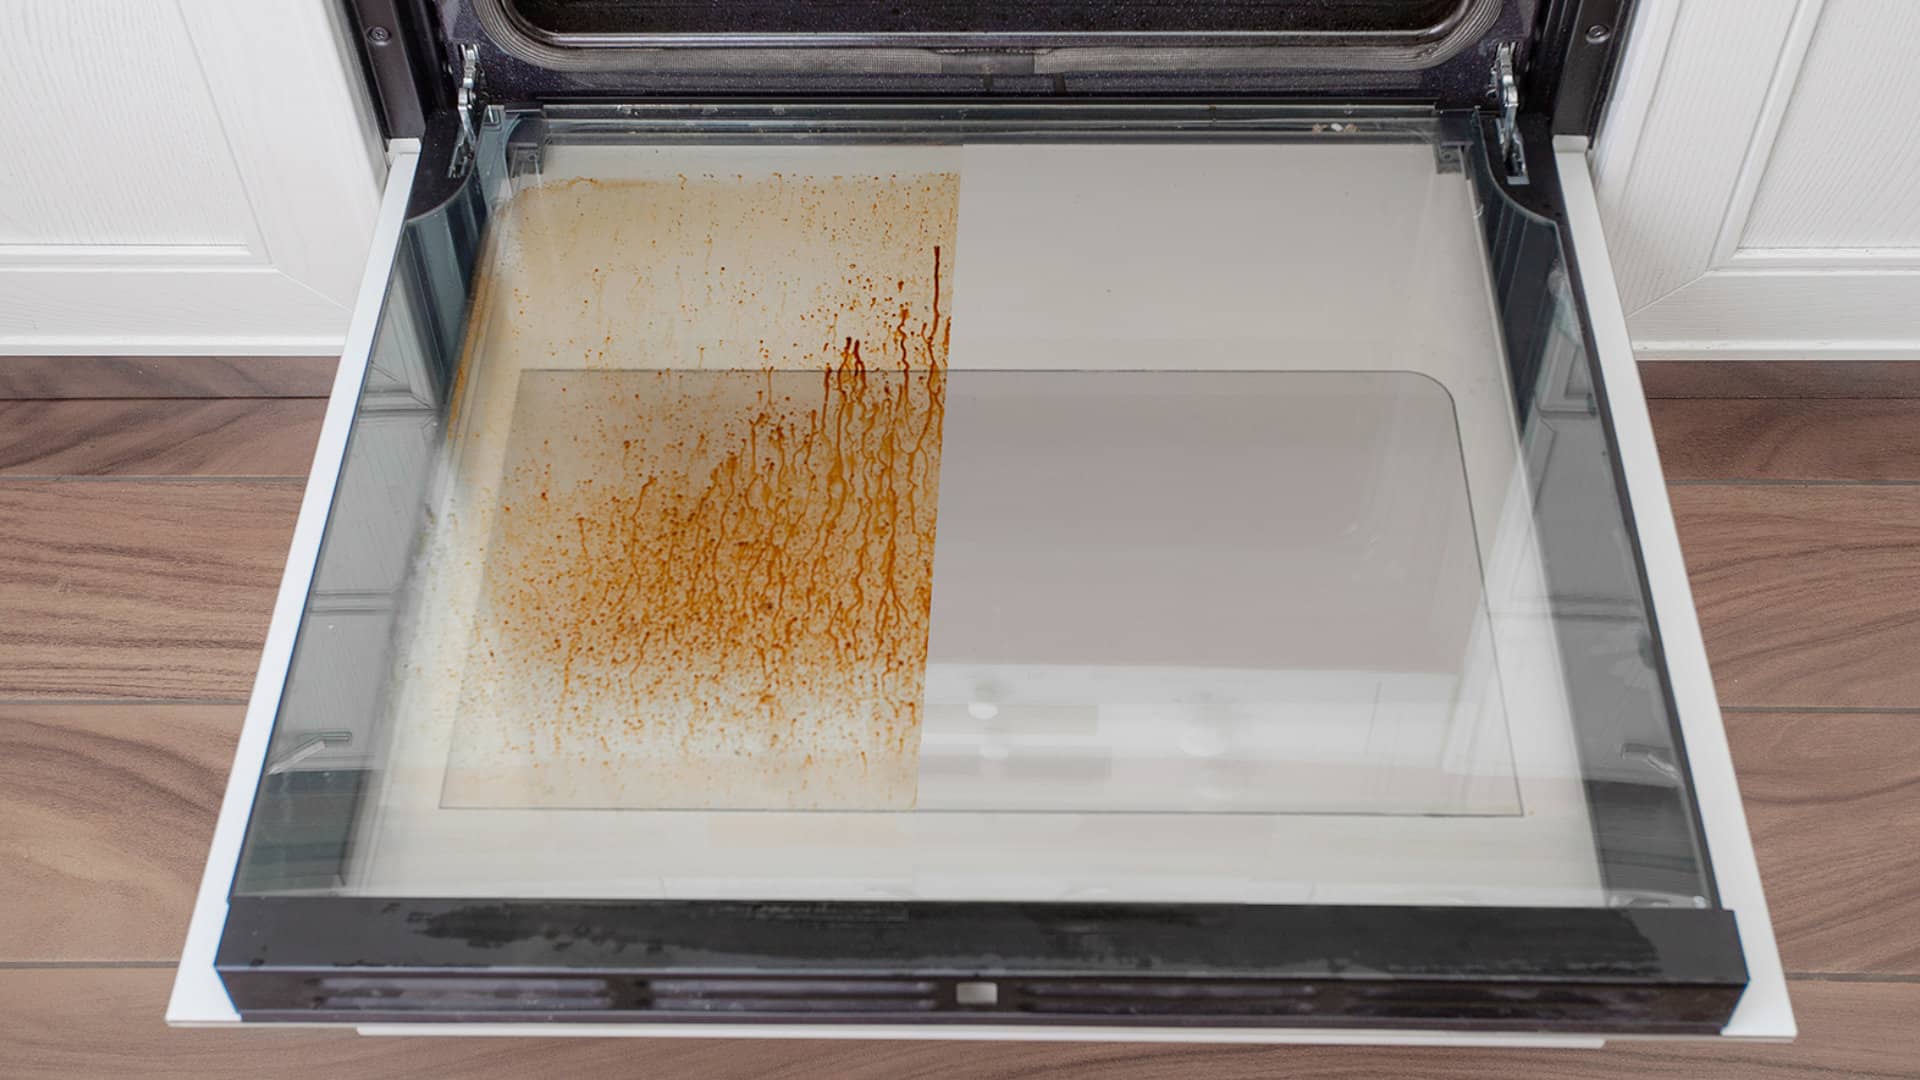
The cycle itself can take a few hours to reach the required temperature. During this process, the remaining food grime will turn an ashy color. The door should remain locked until the oven has cooled down completely. Once you can open the door, vacuum or wipe out the ash. The self-cleaning cycle generally won’t clean the glass, so along with the racks, you will have to do that yourself.
If your self-clean cycle is steam-based, there is a slightly different process you will need to follow. You will need to pour roughly one cup of distilled water onto the floor of your oven. Then close the door and select the “steam-clean” mode. During the cycle, which lasts between half an hour to an hour, your oven will reach temperatures of around 120 degrees celsius. This will turn the distilled water into steam. The steam works to soften and loosen any baked-on food. After the cycle, you will still need to clean out the loosened food.
To clean the glass on the outside, you will need:
- A glass cleaner of your choice
- A soft cloth such as a microfiber cloth.
Spray your cleaning solution on the oven door and wipe it down using your soft cloth. This should remove the dirt and grime from the outside of the oven door. You may need a second cloth to buff any streaks off the glass once you are finished.
To clean the inside of your oven door, you will need:
- ½ a cup of baking soda
- One cup of water
- A small- to medium-sized bowl
- A soft cloth such as a microfiber cloth.
Start by wiping off any grime or drift from the inside glass of your oven using a damp microfiber cloth. Pour ½ a cup of baking soda into your bowl. Slowly add the water, stirring as you do. You are aiming to make a paste that is a similar consistency to shaving cream. Once you have your paste, spread it generously onto the glass. Leave your oven door open and allow the paste to sit for around 20 minutes. Dampen your soft cloth and wipe the paste away in long strokes. This should clean away any stains and baked on food. You can repeat the process if you are not satisfied after the first time.
Once you have finished soaking and cleaning the racks, replace them in the oven and you are good to go!